Planning A Drone Gig | Part 2
Part one of this article looked at some essential tips to better prepare you for a drone gig before heading out to the location. This article will focus on tips and things to consider while on the job. If you missed last week's article, give it a quick read for tips on preparing for the gig before jumping in your car.
For some of these tips, such as camera settings, it's a good idea to spend some time before your gig to familiarize yourself with your equipment. For example, most cameras allow for adjustments that can significantly increase the quality of your photos. If I say you can lighten or darken your photos by changing ISO settings, it doesn't help much if you don't know where to adjust that on your drone. So, learn how to use your equipment before arriving on site.
Tip # 1: Camera Settings
If you look around at the various UAVs on the market, you'll see drones can carry a wide range of payloads. Most of us start with standard cameras (RGB) on our first drones. This is because more advanced payloads require training and more significant investment. So, regardless of what work we start out doing, understanding a few essential tips for drone photography is beneficial.
I wasn't much of a photographer when I started flying drones. As a result, there were many things I had to learn from the school of hard knocks. A few of my first gigs were an embarrassment with regard to photo quality. Thankfully my customers at the time were less demanding than customers are now.
When it comes to capturing amazing pictures, a great place to start is understanding what is known as the three pillars of photography. This triad includes ISO, aperture, and shutter speed.
ISO controls the amount of light your camera lets in. In darker settings, you generally want more light; in brighter settings, you want the reverse.
Aperture refers to the size of the hole on the lens that light comes through. This setting is calculated in f/stops. You'll see them in the app that lets you fly your drone as f/1.4, f/2, f/2.8, and so on. An f/1.4 is a larger hole than an f/22. Lower f/stops create brighter images, a low depth of field, and less content in focus, while higher f/stops produce darker images with more content in focus, and a greater depth of field.
Shutter speed is how slow or fast the shutter closes. Slower shutter speeds let more light in, giving you more prolonged exposure. Remember that a slower shutter speed will capture more motion and light, so if your subject moves, you'll end up with a blurry image.
The key is to practice with all three of these to understand what settings are best for your needs. The auto settings are pretty good on most drones, but to get the most out of your camera, become familiar with how to work these on the job site.
Tip # 2: ND Filters
If you are unfamiliar with Neutral-Density (ND) filters, they are devices you place over the camera that reduce the amount of light that enters the camera's lens. Limiting the amount of light lets you focus on the shutter speed and aperture with less concern about overexposing the image. Typically, they are used on bright sunny days.
If you have tried your drone's auto white balance or sunny setting, you may have noticed some images are still too bright. It's times like this that you need to use an ND filter. If your job requires long exposures or will be in bright sunny areas like the desert or snow-covered regions, consider using an ND filter.
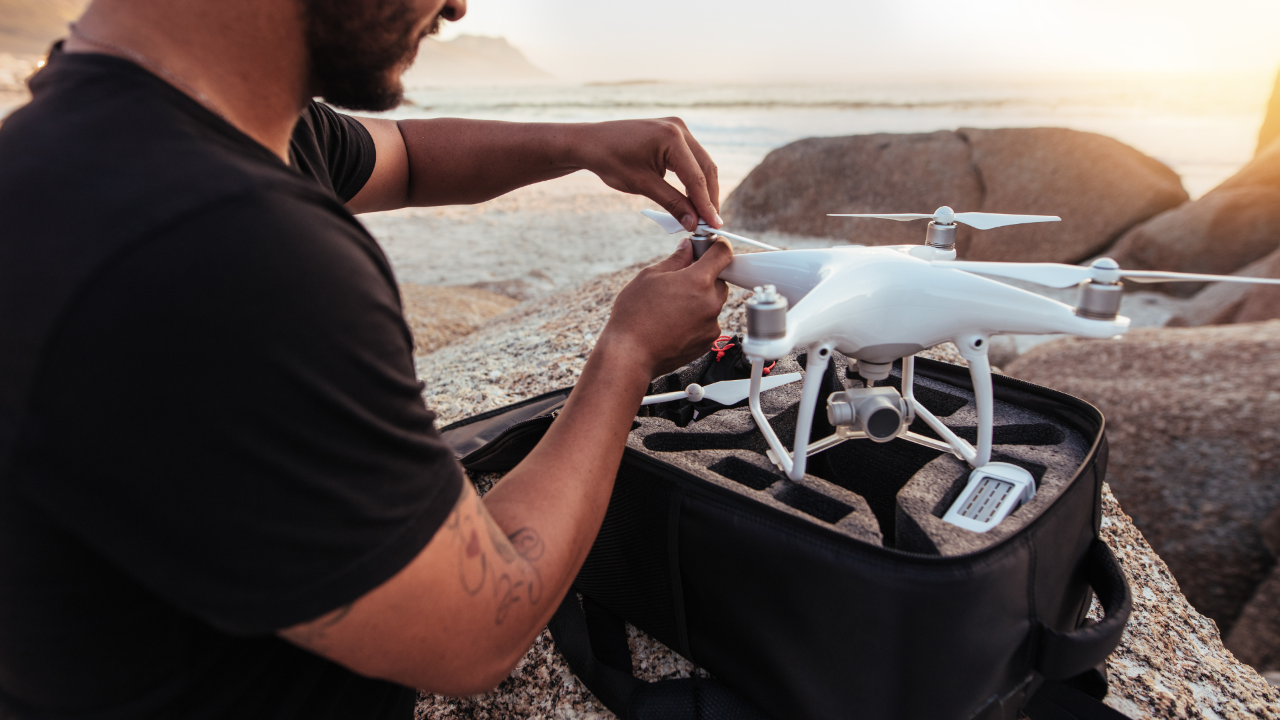
Tip # 3: Pre-Flight Checklist
I am a huge fan of checklists. No one remembers everything all the time. Checklists are a great way to make sure nothing is lost in the moment. A good checklist will also help to prevent accidents from happening. Your list will be unique to your needs, but as a starting point, here is the list I use.
- Batteries charged and properly installed
- Aircraft hardware is good
- Other gear for the flight (like ND filters and SD card) are good
- Remote control is working properly
- Propellors installed and free of defects
- Software is updated
- Attach phone or tablet to remote
- Power remote on
- Power aircraft on
- Ensure the compass is calibrated
- Camera and gimbal are working
- Connected to satellites
- Ensure home point is set
- Airspace is clear
- Is it safe to take off from the area you are in
Tip # 4: Insurance
While this tip may not seem to belong on this list, I assure you it does. Insurance is one of those pesky things about life that seems like a waste of money until you need to file a claim. We all hate paying insurance premiums, but if you are working on a job and the unexpected occurs, you'll wish you had taken my advice.
Throughout my commercial drone pilot career, I have lost two drones. One was due to an unexplained wind gust that picked up my DJI Phantom 4 Pro, carried it about 100 feet, and smashed it into the ground. The second was when my DJI Mavic 2 Pro disconnected from the remote, mysteriously turned away from me, and flew off until the battery died well beyond where it could be retrieved.
In both cases, I had insurance, and both drones were eventually replaced. It's hard to be a commercial drone pilot without a drone. Unless you have money to burn, having insurance is a smart move and can make a bad day onsite sting slightly less.
Tip # 5: Understand The Basics Of Editing
Most of my clients ask for RAW files of the videos and images I collect. As such, I have never really developed skills in editing my work. To be fair, I have missed out on many gigs where the client would have hired me if I also could edit the footage into marketing videos or similar products. Being your own editor has pros and cons, and personal preference is often the deciding factor.
Even with my limited need for editing, I have still taken the time to learn the basics. Occasionally, I need to build a video, add property lines to a photo, or add metadata to describe the location or specifics of a shot. I like Photoshop, but there are many platforms out there for editing. Whatever platform you choose, learn a few of the basics. Examples of basic editing skills include cropping, resizing, brightness and contract adjustments, and image sharpening.
If you want to avoid editing altogether, you are in luck. Altitude University has its own editing service, Momentum, for on-demand editing whenever you need it. Check it out if you haven't already.
Working onsite should be an enjoyable experience. If you want to get the most out of your gigs, understand your equipment and ensure the camera settings are the best for the conditions you are flying in. Simple additions to your work routine on a gig, like checklists and carrying insurance, can make a big difference. Good luck making the most out of your next project.
Article Written by David Daly

Join Our Private FB Group Community
Access to training, education and drone industry news. Meet other like-minded drone enthusiasts, just like you!
Online Part 107 Test Prep Course | Sale
Recent Posts
